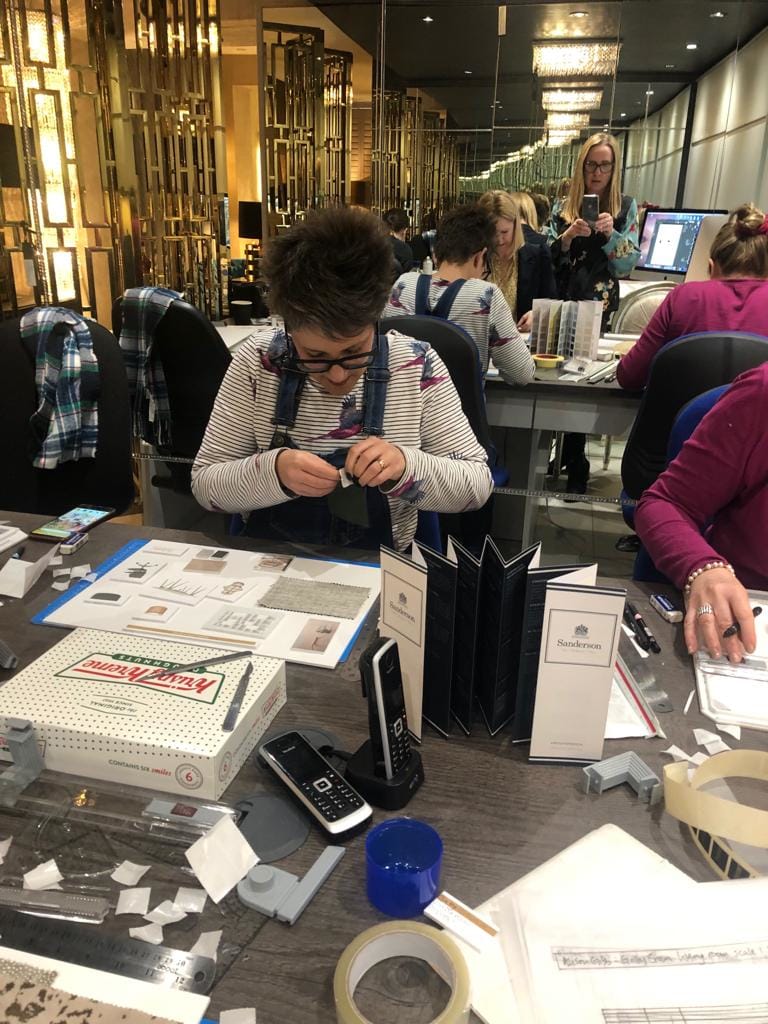
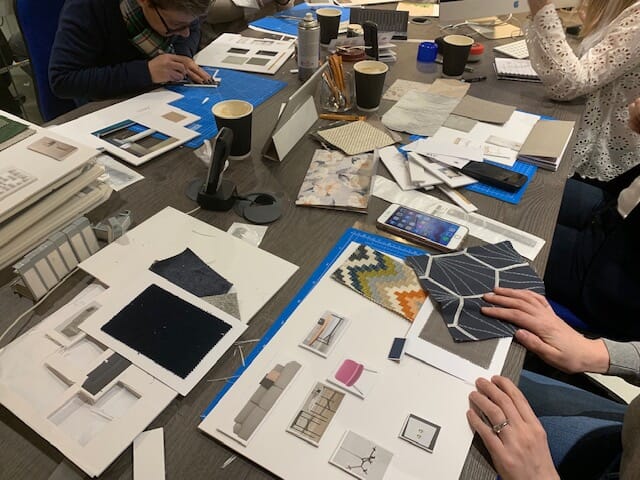
First of all, let us say that creating a moodboard is not a 5-minute exercise. For it to be truly useful, you will need to spend some time beforehand collecting samples and ideas. We are lucky enough to be just down the road from the Design Centre at Chelsea Harbour – and if you can manage it, we would highly recommend a pilgrimage. If not, we would suggest you spend some time browsing shops in your local area and bringing back a wide selection of images and samples that inspire you. You could even take pictures of things you love; colours, pieces of furniture in friends’ houses or shop windows, textures, paintings…
Why Create a Moodboard?
A moodboard is an important starting point in any interior design project. We all start out with many ideas of what we think we would like. A moodboard will bring all these ideas together in one place so you can start to focus, narrow your options down and see how your choices work together.
Your Moodboard and Beyond
If you find you’ve been bitten by the interior design bug and want to take it further, take a look at our Interior Design Courses. As well as creating a moodboard based on a room in your home, each 5-day course will teach you all the fundamentals of the design process. From scale floor plans and elevations to product sourcing, cost scheduling and project management, you will come away with all the skills you need to take your design from initial concept through to finished project. But first, let’s get on with our board…
A Physical Moodboard
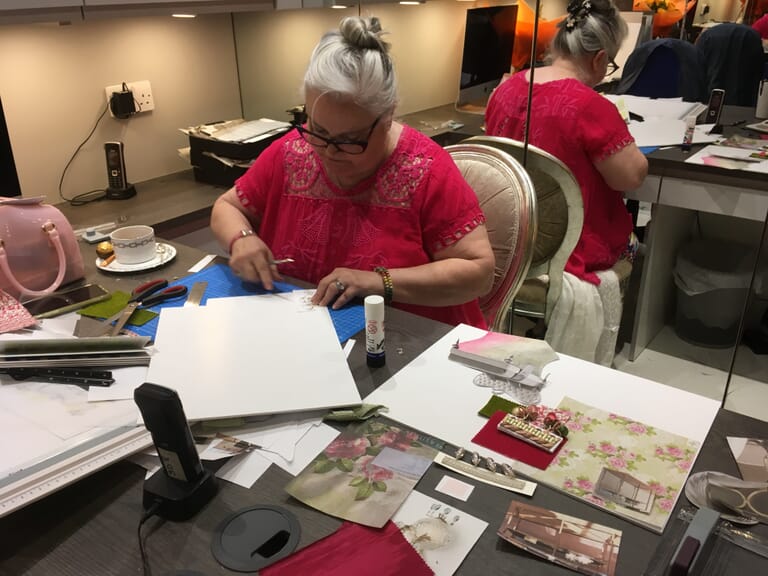
Just to be clear, we are talking here about creating an actual board using lovely, old-fashioned scissors and glue. We love the hands-on, tactile approach and, for a moodboard beginner, we feel this is the best way to start. It will give you a true idea of colours and textures and it is much easier to move things around (before you stick them, obviously). There are plenty of digital moodboard creation tools out there if you prefer and the basic principles are the same.
This can be a fantastic source of inspiration but it can also become very overwhelming. It is so easy to add hundreds of items to your online board but this isn’t going to help you narrow anything down. Quite the opposite, in fact. We suggest you use it to find images of colours, fabrics, furniture styles and particular design features that you would like to incorporate into your design. Then go through them all and be ruthless. Clear out anything where there is an almost-identical duplicate. Bring it down to your absolute favourites and print these out to use on your moodboard.
Before You Start Your Moodboard
Be prepared! You will need a board big enough to play with all your ideas. You can buy a lightweight foam board from any hobby or craft shop or online. We would buy more than one as you will soon realise just how addictive this can become. Then you will need to collect any or all of the following:
- Scissors
- Glue, glue stick or double sided tape
- Paint swatches or, better still, tester pots
- Fabric samples
- Wallpaper samples
- Pictures from magazines and brochures
- Old photographs
- Photographs you have taken of things you love
- Samples of textures that inspire you
Now you are ready to start. The question is, where do you start?
A Moodboard Centrepiece
Does your whole project hinge around a particular statement piece of furniture? One of our recent Design School students designed her whole room around a favourite painting that inspired her and her family. If you do have a centrepiece such as this, place it front and centre on your board (do not stick anything just yet). This way, you can make sure everything else works with it. If you don’t, not to worry. Leave a space so you can try out as many alternatives as possible once other things begin to come together. As you go through this process, it should become clear what your centrepiece will eventually be.
Colour
You may already have a base colour in mind. You may be trying to decide between various options. Light and fresh or dark and moody? Well, this is your chance to narrow it down. If you can, use tester pots and make your own large paint swatches. Do not paint them directly onto your moodboard – you won’t be able to change your mind later. Paint a large square of each colour onto lining paper and cut them out so you have individual swatches that you can move around. Using testers will give you a true colour and a larger area to see how each colour really works. If you simply have too many options to do this, there is nothing wrong with cutting out all your choices from paint charts. Experiment with different combinations of colours to create your own palette. Remember, you don’t have to stick to variations of just one colour or one main colour with safe, understated neutrals. A pop of contrasting colour or a more adventurous palette can really lift a design.
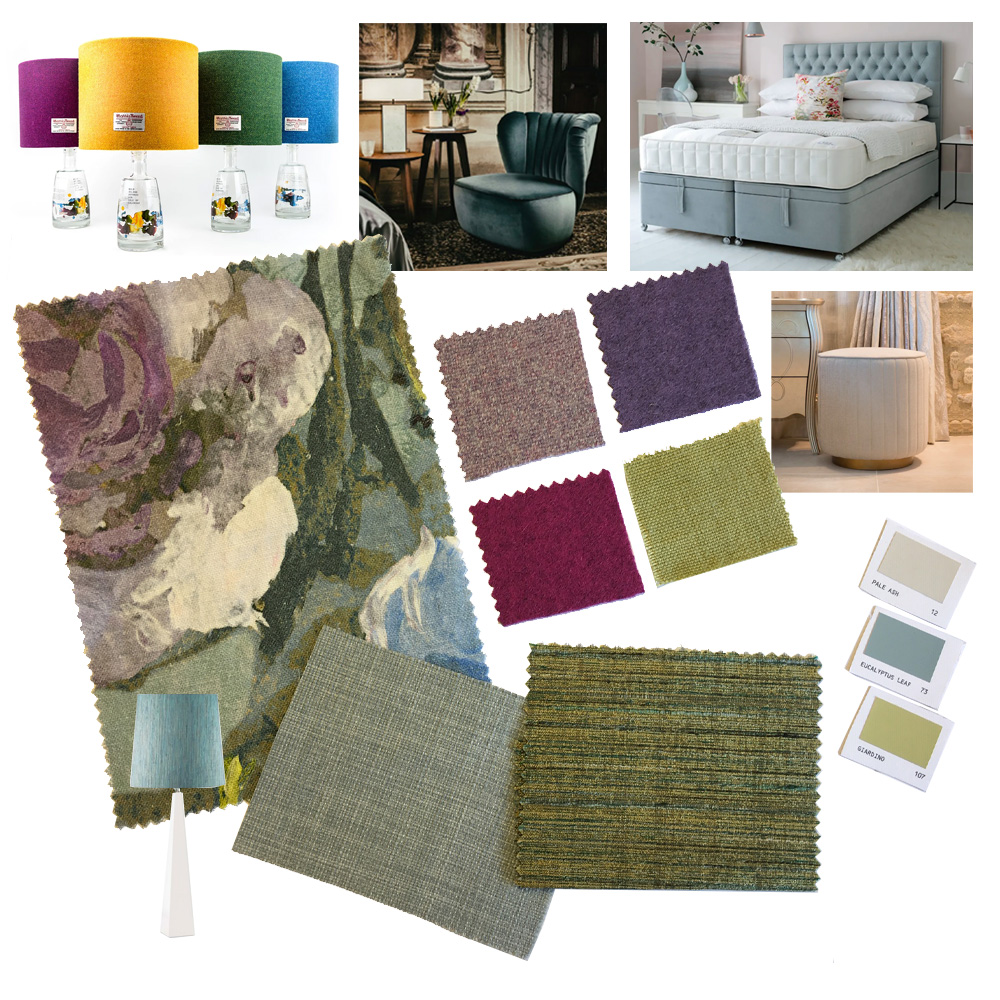
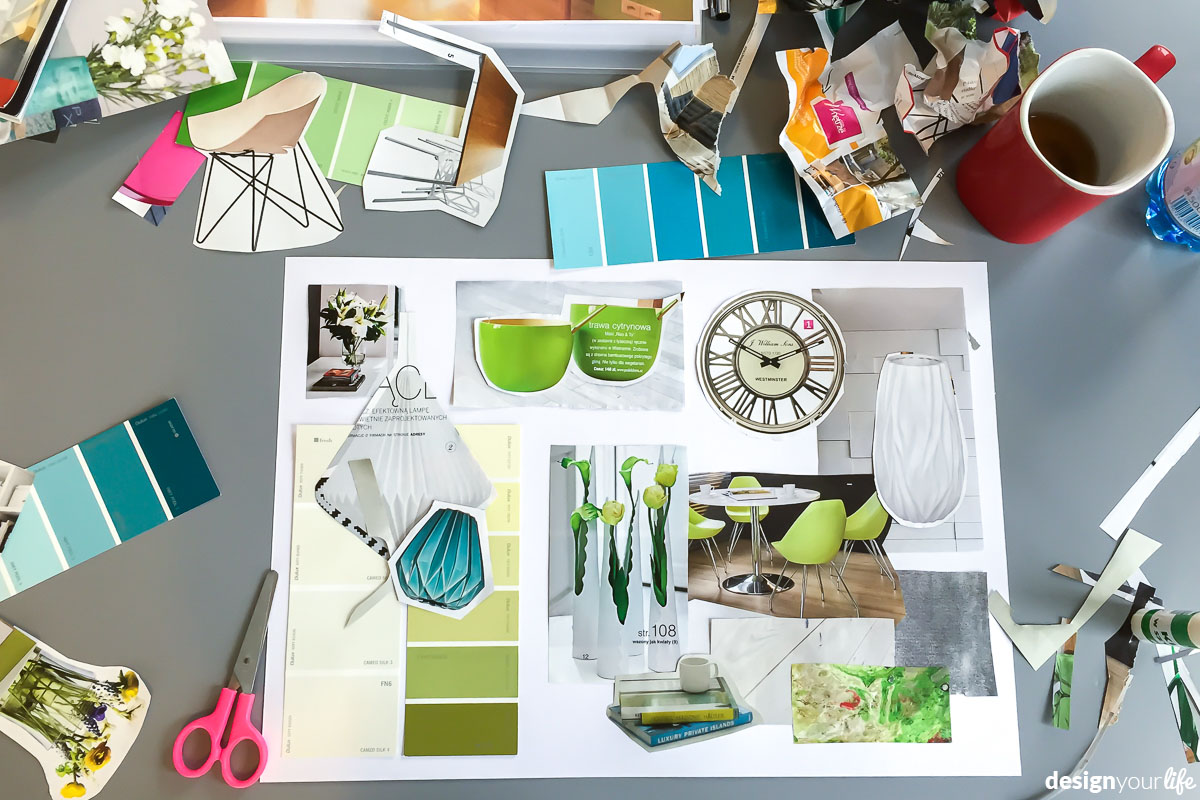
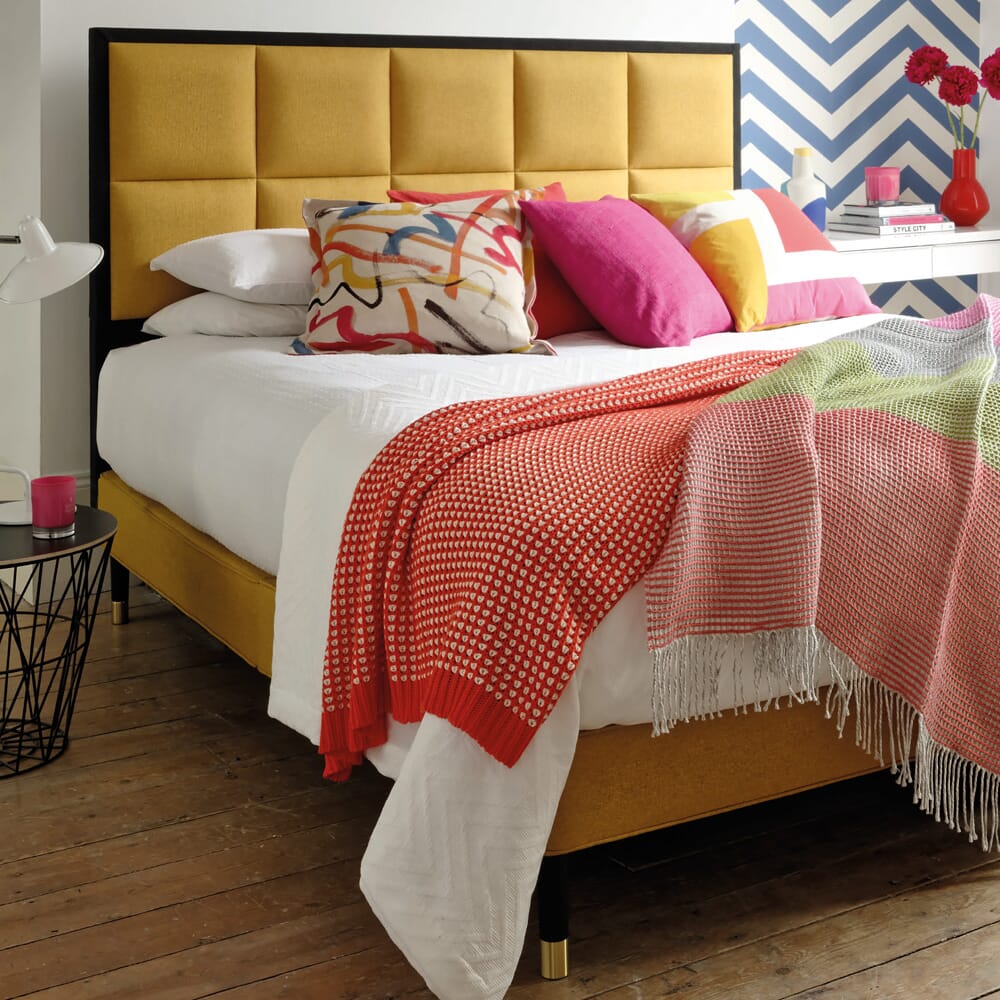
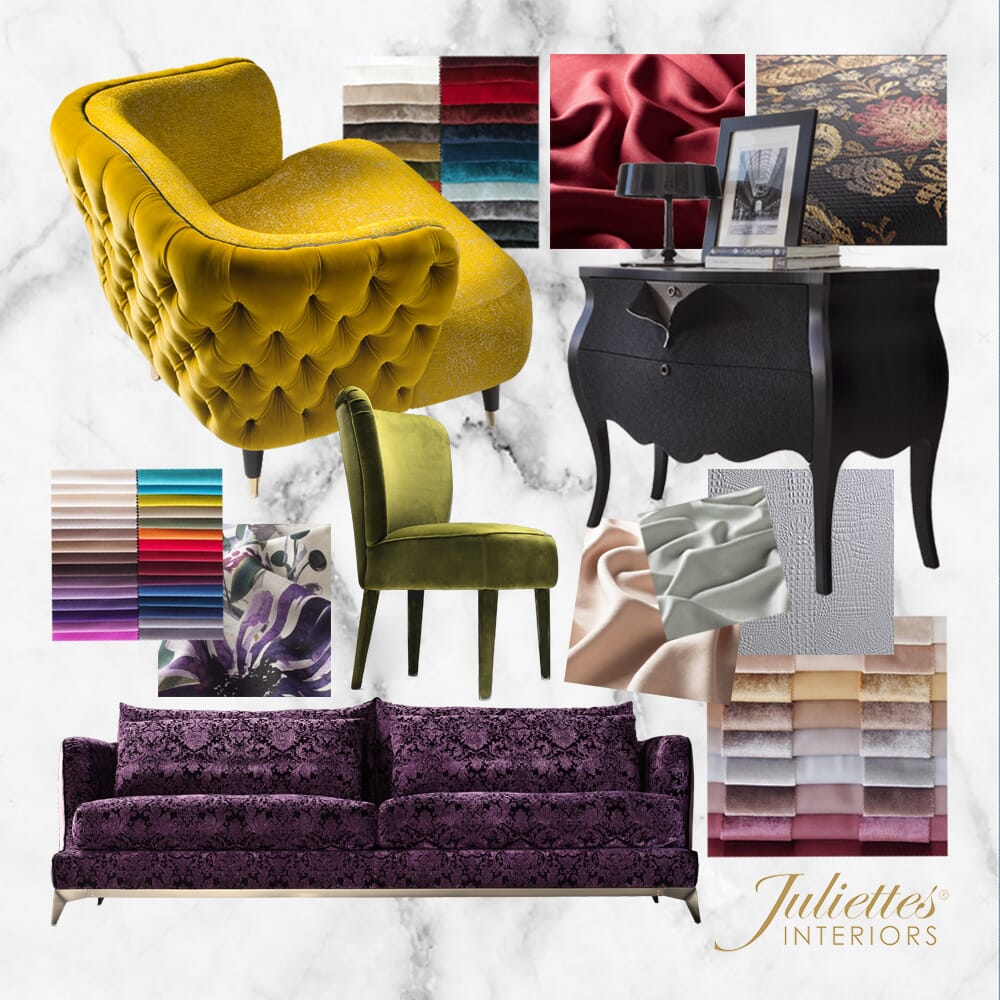
The moodboard above started with just one fabric swatch for a headboard (aqua fabric, bottom left). The student working on this intended to choose only toning shades of blue and turquoise. But see how the deep pink, acid green and even a splash of yellow really enhance the whole scheme. If you tend to be apprehensive when choosing colours, look through interiors magazines or paint company brochures and websites to see how they combine colours. Be adventurous at this stage and really play with colour. You may narrow it back down to a subtle and restricted palette – or you may discover a whole new range of complementary tones and a love of colour that you never knew you had.

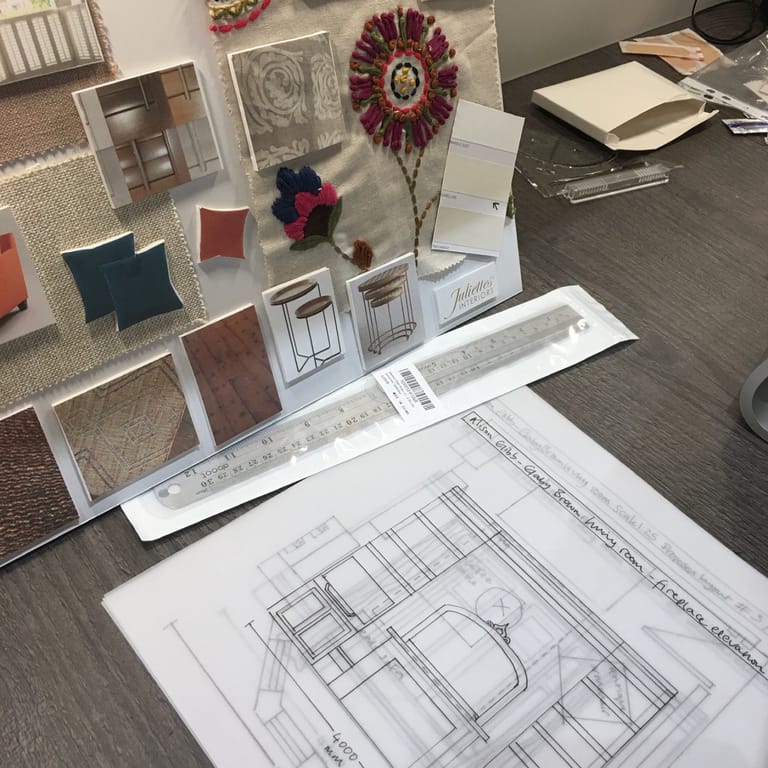
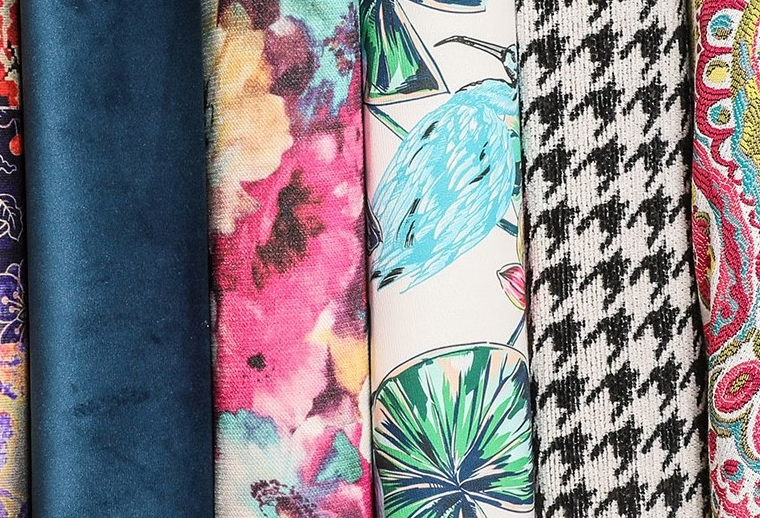
Fabrics
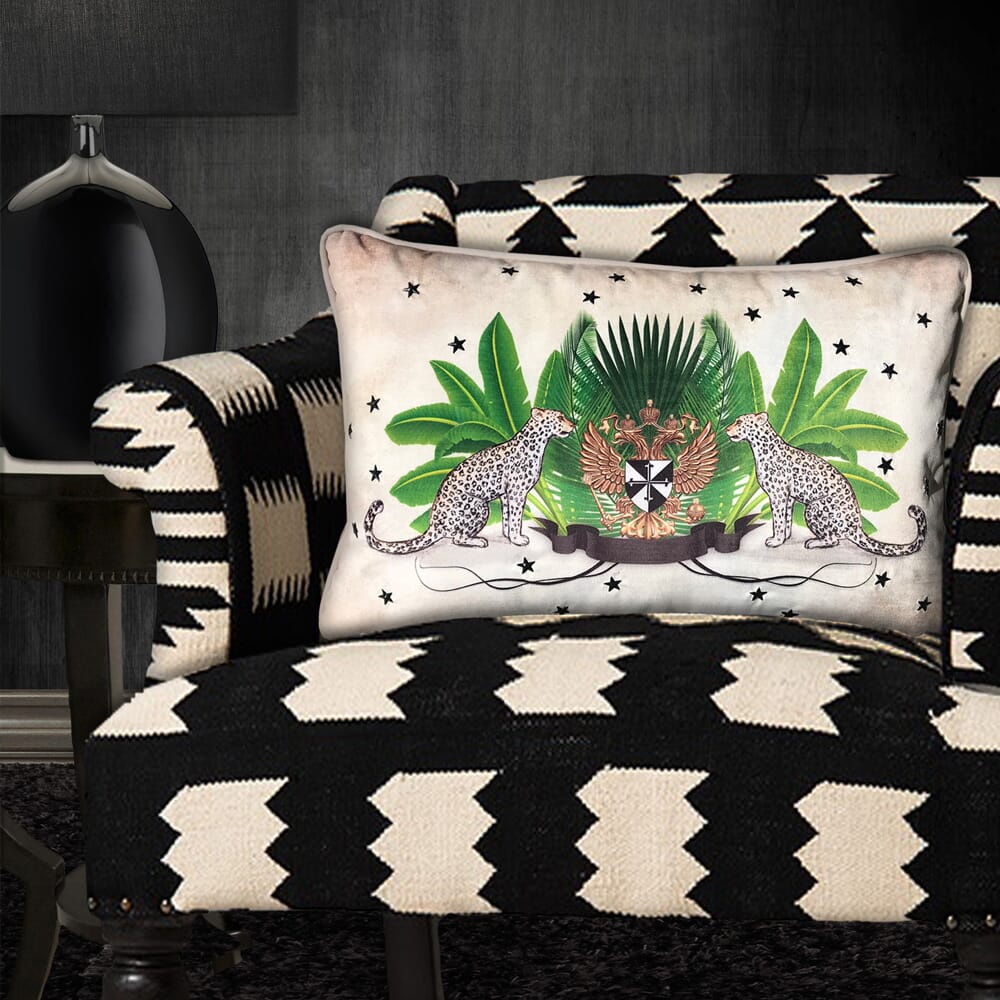
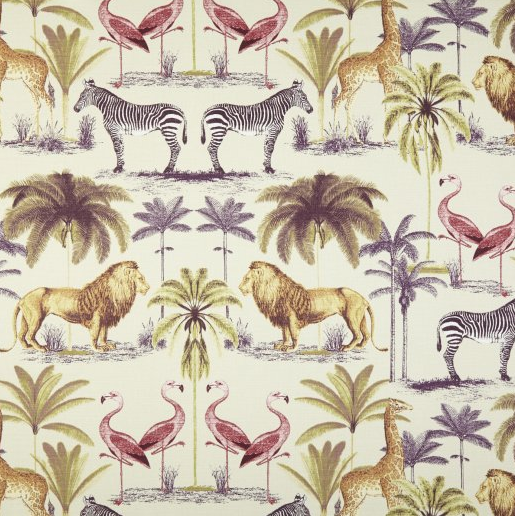
Your upholstery and curtain fabrics will be a large part of your design. Again, use this early stage to be adventurous. Gather swatches of as many fabrics as you can, or images of upholstery and soft furnishings. If everything on your moodboard is very plain, try adding just a splash of something big and bold, just to see whether you like it. Big, botanical prints are distinctly on-trend right now, with glorious tropical fruits and foliage. Beautiful birds and exotic animals are popping up on fabrics, cushions and wallpapers. Be brave and give it a go. If you don’t like it, you don’t have to include it on your final board.
Texture
Textures add an extra dimension to your interior design. Without texture, an interior can look very flat. Obviously, you don’t want so many textures that they all fight against one another. This is why your moodboard is so important. Get together all your different textures – fabrics, wallpapers, cushions, rugs – and see which ones work together. Explore velvets, linens, leathers, nubuck, chenille, modern textured fabrics, the list is endless. You should start to get a feel for which ones work and which ones don’t. Select your absolute favourites and put the others to one side for now.
-
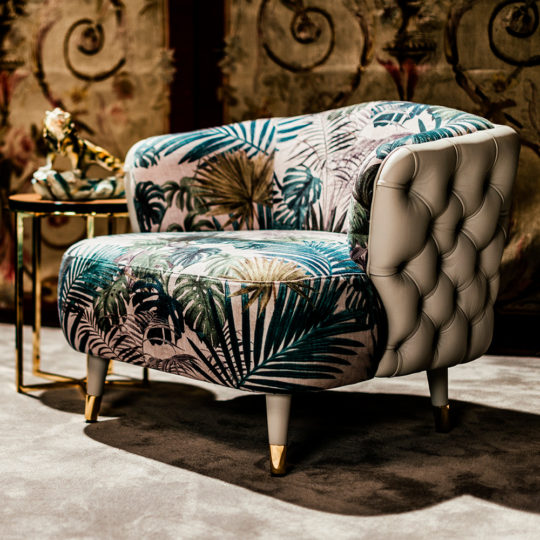
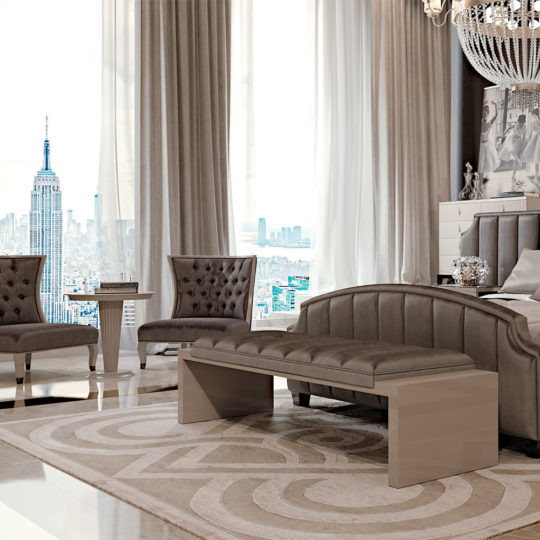
 Designer Contemporary Furry Walnut Arm Chair and FootstoolPrice range: £2,707.00 through £10,900.00
 -
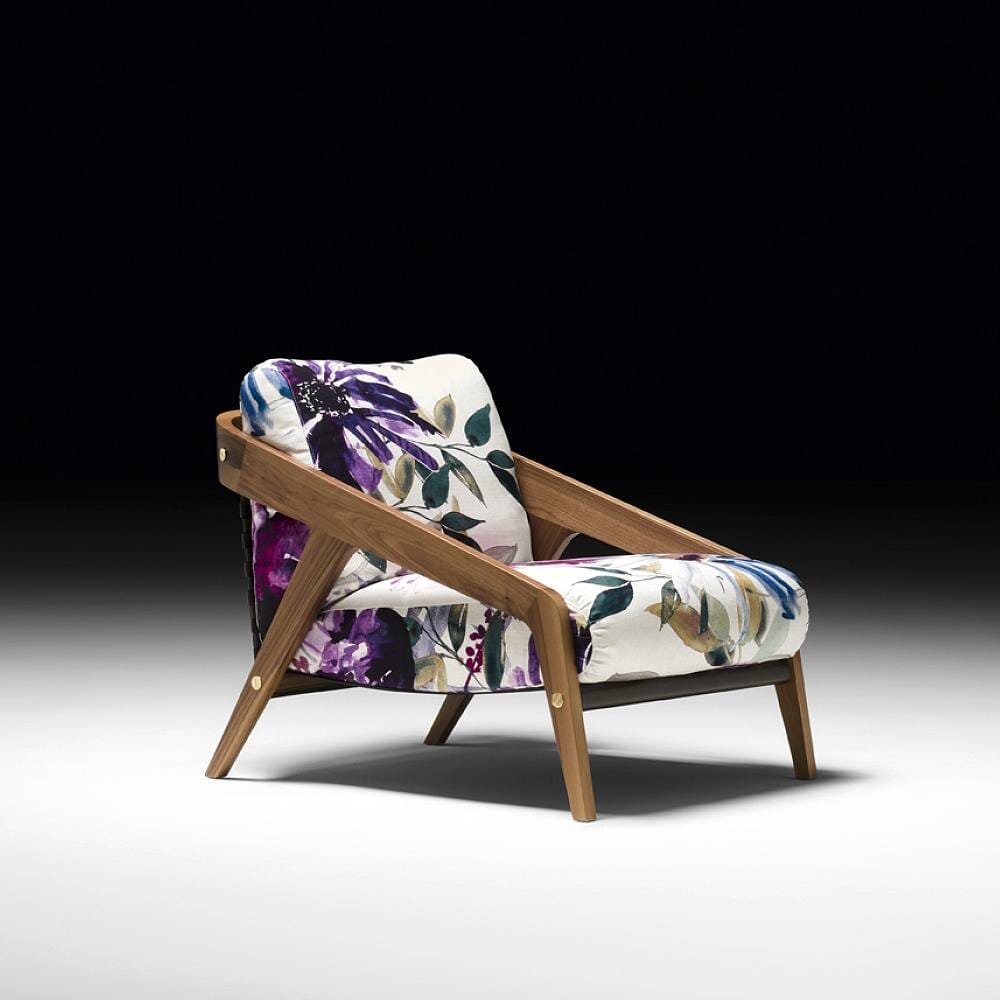
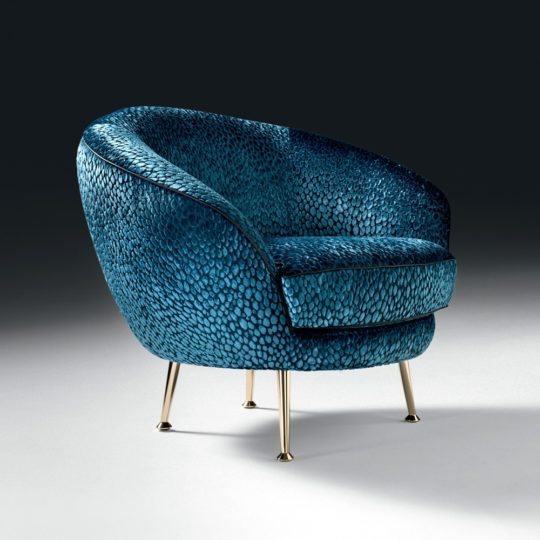
Modern Italian Designer Occasional Armchair£6,346.00
-
Curved High End Lacquered Quilted Leather Sideboard£16,636.00


Pattern
Pattern is experiencing something of a revival, with pattern-on-pattern layering becoming an upcoming trend. So many people are scared of pattern and it can be overwhelming. Again, this is why you need a moodboard. Pattern is very much a matter of personal choice. You probably already know whether you prefer a ditsy floral, a bold botanical or a retro geometric design, but don’t let this stop you experimenting. Pattern can be incorporated into your interior design with curtains, cushions, upholstery, wallpapers and floorcoverings – but treat it with care. There are some rare individuals who get away with a riot of pattern and colour. Unless you are supremely confident, we would recommend using only one very bold, statement pattern on either walls or curtains. More pattern can be included with smaller items such as cushions but do not go overboard.
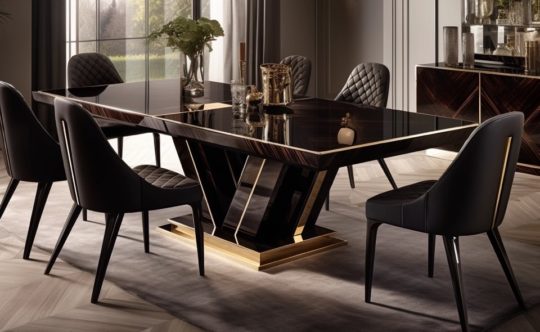
Furniture
Luxury furniture is likely to be your biggest expenditure and so needs very careful consideration. Think about who uses the room, how they use it, how often, and how flexible the space needs to be. A moodboard is not the place to be working out exact dimensions, it is to decide upon the look of your room but you will still need to be realistic in your choice of pieces. Use images of the items you would like to include in your design, plus swatches of the fabrics if possible. Scale drawings, floor plans and elevations are the next step in bringing your interior design to life. If this is something you would like to learn, check out our Design School Interior Design Courses.
-
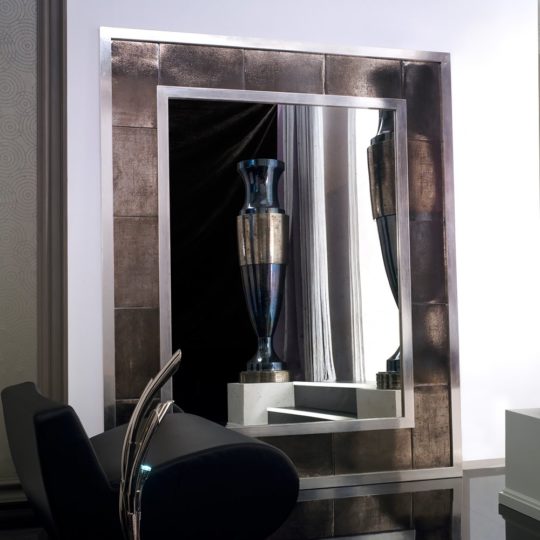
Exclusive Platinum Plated Italian Mirror£37,495.00
Flooring
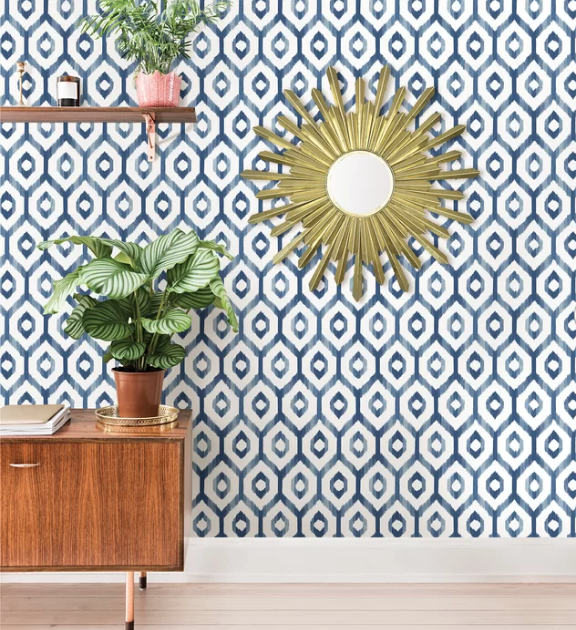
It’s easy to overlook the floor when you are so busy deciding on everything else but this is a large area and what you do with it will make a lot of difference to your overall design. Original floorboards; on-trend herringbone wooden flooring; luxurious carpeting; a statement rug or runner; gloss marble or natural stone. If you already know exactly how your floor is going to look, add this image to your moodboard to make sure everything else fits around it. If not, find images and/or swatches of the various options you have in mind and test them against everything else to see what feels right to you.
Accessories
From luxury lighting to candlesticks, eye-catching cushions, ornaments and plants, this is where you can add even more personality and pzazz. Sleek, modern floor lamps or a flamboyant chandelier? A magnificent, overmantle mirror or giant, fireside candle holders (or both)? Again, use your moodboard to focus your mind and narrow things down to a selection of accessories that all work together. Accessories are the easiest way to experiment with colour, pattern and texture – and the easiest way to change the look and feel of a room. Many interiors bloggers change their interior design scheme with the seasons, simply by swapping out their accessories. There is no reason why you shouldn’t do exactly the same. Your moodboard can easily incorporate alternatives if you so desire.
Before You Start Sticking
The whole point of a moodboard is to narrow down your choices and refine them before making decisions. So, play with all your swatches, samples and pictures. Move them around. Take things off, put them back on and try different combinations. Do not discard anything. You may well come back to it later – if not for your current design, then for a later one. Don’t think you have to complete your moodboard straight away or in one session. If you’re not sure about something, take a break. Go away, have a coffee, then come back and look at it with fresh eyes. You are about to make a big investment so you have to be sure that you love every bit of it. Once you think you are sure, start sticking!
When Your Moodboard is Finished
Before you start sourcing and purchasing your products, display your moodboard prominently in the room itself. Ask family and friends for their thoughts (it’s up to you how much notice you take of their opinions). Your board should make an impression every time you walk past it. Use this to hone your choices. You may have got it right first time or you might want to delve back into the options you put aside. There is no shame in that. This is your home, your personality and your chance to shine. Have fun. Enjoy creating your moodboard – and please send us pictures when it’s finished. One last tip – take a photo on your phone of your finished moodboard so that you have it with you wherever you go. You never know when or where inspiration may strike.
We are really looking forward to seeing your moodboards so get sticking!